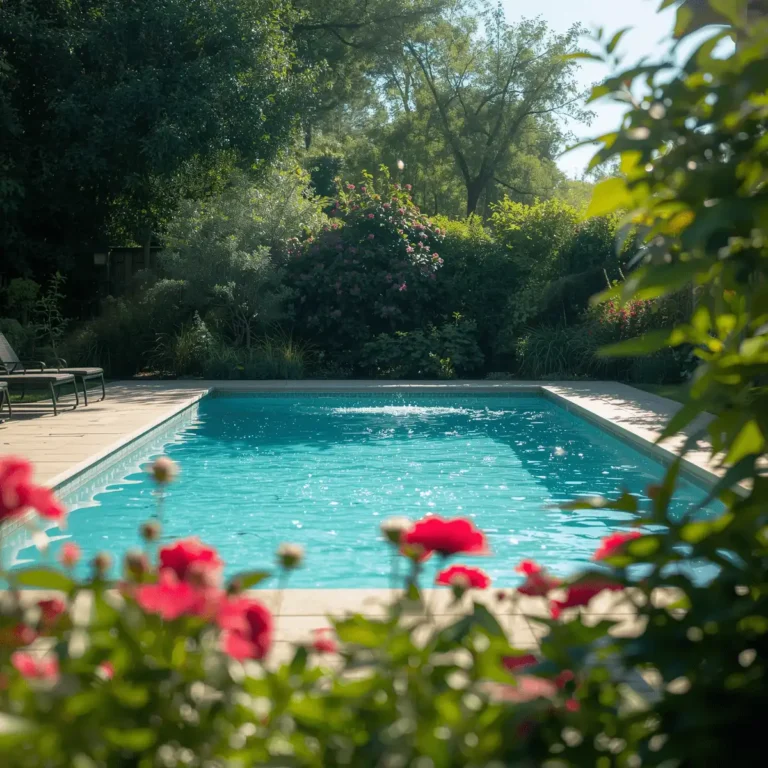
Adding a custom swimming pool to a residential property is one of the most rewarding home improvement projects a homeowner can undertake. A well-designed pool creates a central hub for relaxation, exercise, and outdoor entertaining, while significantly enhancing the overall utility and value of the home. However, building an in-ground pool is a major civil engineering project that involves complex structural design, heavy excavation, precise plumbing, and detailed craftsmanship. Understanding each phase of the project helps property owners manage expectations, prepare their yard, and navigate the journey from initial concept to the first swim smoothly.
Phase 1: Planning, Conceptual Design, and Engineering
Long before heavy machinery arrives on-site, a successful pool installation requires thorough planning and architectural design. During this initial stage, homeowners work alongside designers to define the scope, shape, depth, and features of the pool.
Key considerations during the design phase include:
-
Property Layout and Setbacks: Mapping property lines, local building setbacks, utility easements, and overhead power lines determines where the pool can be safely located.
-
Custom Amenities: Deciding on integrated features such as spas, tanning ledges (baja shelves), swim-up bars, waterfalls, or fire features influences the overall structural engineering.
-
Soil and Elevation Analysis: Evaluating the slope of the yard and testing soil conditions helps engineers design proper retaining structures, drainage systems, and footings.
Once the design is finalized, structural engineering plans are drafted and submitted to local building departments for permits. Securing official permits ensures the pool complies with municipal building codes, safety regulations, and environmental standards.
Phase 2: Site Layout and Excavation
With permits in hand, construction begins on-site with layout and ground clearing. Crew members mark the exact outline and dimensions of the pool on the lawn using stakes and spray paint, offering a real-world visual representation of the pool’s placement.
Once the layout is verified, excavation machinery moves in. Heavy excavators break ground, dig out the earth according to specified depth profiles, and haul away tons of displaced dirt. Operators carefully shape the pool floor, deep end, shallow entries, and bench ledges in the surrounding earth during this phase.
Phase 3: Steel Framing, Plumbing, and Electrical Rough-Ins
After excavation, crews build a robust structural framework inside the excavated hole to ensure long-term stability under heavy water pressure.
Steel Rebar Cage Installation
Workers line the soil floor and walls with a grid of thick steel rebar tied together with wire. This steel cage acts as the internal skeleton of the pool, providing tensile strength that prevents concrete from cracking or shifting when the surrounding ground settles.
Plumbing and Utility Lines
Simultaneously, specialized plumbers install the main suction drains, skimmers, return lines, spa jets, and water feature piping beneath and through the steel grid. Heavy-duty PVC pipes are pressure-tested to verify that there are no leaks before the concrete shell is applied. Electricians also run conduit lines for underwater LED lighting, automated control panels, heating units, and pump equipment.
Phase 4: Concrete Application (Gunite or Shotcrete)
The application of the concrete shell marks a dramatic turning point in the pool construction process. Most high-end in-ground pools utilize pneumatically applied concrete—either gunite (a dry mix combined with water at the nozzle) or shotcrete (a wet concrete mix blasted through a hose under high air pressure).
Skilled nozzle operators spray the concrete mix thick over the steel rebar cage, while masonry crews hand-trowel the surfaces to form smooth, precise pool walls, steps, benches, and floor contours. After application, the concrete shell undergoes a curing phase lasting several weeks, during which the shell is regularly hydrated to achieve maximum structural density and strength.
Phase 5: Tile, Coping, and Surrounding Hardscape
Once the concrete shell cures fully, decorative and functional surface features are added:
-
Waterline Tile: Porcelain, ceramic, or glass tiles are installed along the top six inches of the pool wall. Waterline tile prevents body oils and mineral deposits from staining the raw concrete shell and provides an easy-to-clean accent band.
-
Pool Coping: Coping stones, natural travertine, or pre-cast concrete caps are set along the top edge of the pool wall to cap the structure and create a smooth transition to the deck.
-
Decking Installation: Concrete pavers, natural stone, or stamped concrete are laid around the pool perimeter to create a clean, slip-resistant lounging deck.
Phase 6: Interior Plaster Finish and Filling
The final step before filling the pool is applying the interior finish. The plaster coat serves as a waterproof barrier between the concrete shell and the pool water while providing the pool’s internal color and texture. Options range from traditional white plaster to durable aggregate finishes containing quartz or smooth pebble blends that create vibrant water colors.
Immediately following plaster application, the pool is filled with water. The filling process must run continuously until water reaches the middle of the waterline tile to prevent ring stains or uneven curing on the new interior plaster.
Phase 7: Equipment Startup and Water Balancing
Once full, pool technicians start up the filtration pump, heater, and automation systems to initiate water circulation. Chemicals are added in precise stages to balance pH, alkalinity, calcium hardness, and sanitizer levels. Balancing the water protects the fresh plaster from scaling or etching during its initial curing weeks. With the water crystal clear and chemically balanced, the construction journey concludes, leaving homeowners with a durable outdoor oasis built for decades of enjoyment.